Dave's Fish Creek Dock Project


First Test of our Portable Dock
Note: This is the first assembly method we used.
- attach decking and legs to each section
- carry each completed section into the water
- loosen legs and pull them up to allow dock to float
- line up sections and bolt together
- go around the dock, lifting a section at a time to raise it out of the water, then tighening the pressure bolts on each applicable leg
Pros: Most of the assembly is done on shore
Cons: Assembled sections are heavy to carry into the water, especially down some shorelines. It is difficult to lift a section, then retighten press bolts at the same time. Much easier if you have another person to assist. This is a rather long process to eventually get the whole dock out of the water and levelled without assistance.
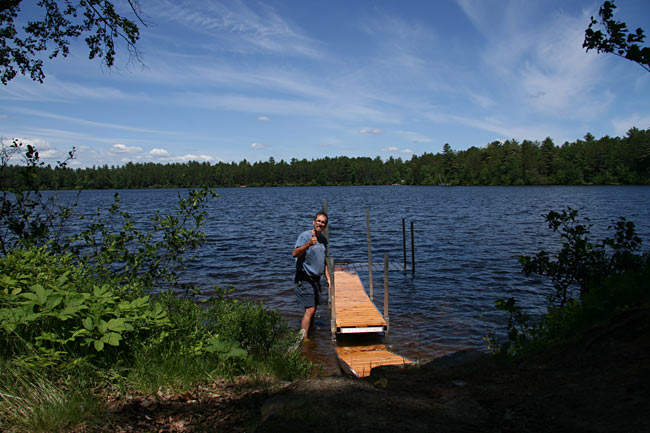
After finally completing our new aluminum frame dock, I am happy to report great success!
Not only was the dock easy to put together, but it actually floated which made it that much easier to assemble. In fact I was able to put the dock together in just over an hour! Considering that I will no longer be removing the decking from the frame, I estimate I will be able to reduce the 'build time' to about 1/2 hour next time. It does take considerable strength to raise the dock out of the water.
Here is a step by step description of the build along with photos.
The deck pad is assembled with the legs partically dropped. Simply drag out a bit into the water and it will float for attachment to the dock sections. This 4x6ft section weights about 125 lbs (dry) with the decking and legs attached.
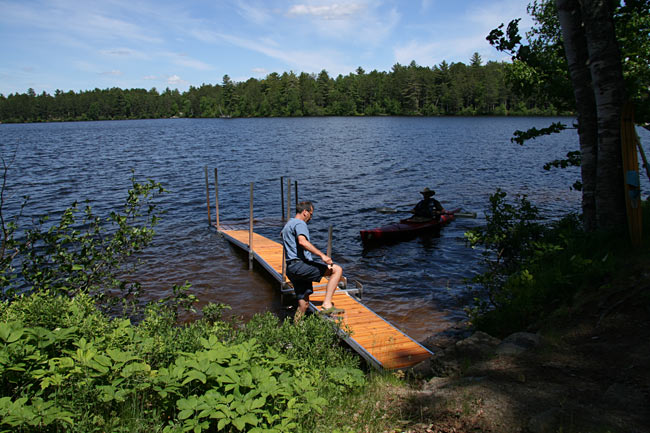
I now have 2 of the dock sections in the water with legs pulled up allowing them to float. Here I am bolting two of the dock sections together. Each of these 2x8ft sections weighs about 80lbs with decking and legs attached...
The two main dock sections are now bolted together as well as bolted to the 4x6ft sun deck. Fairly easy to line up since the whole assembly is floating. Note my choice of leg lengths for each section was a bit off... next time I'll even out things for a more consistent look...
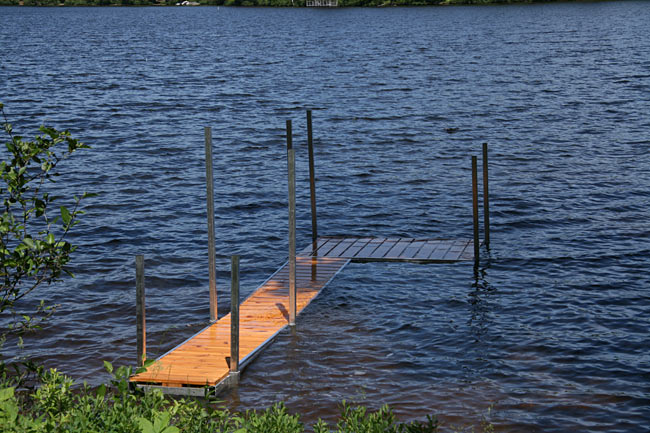
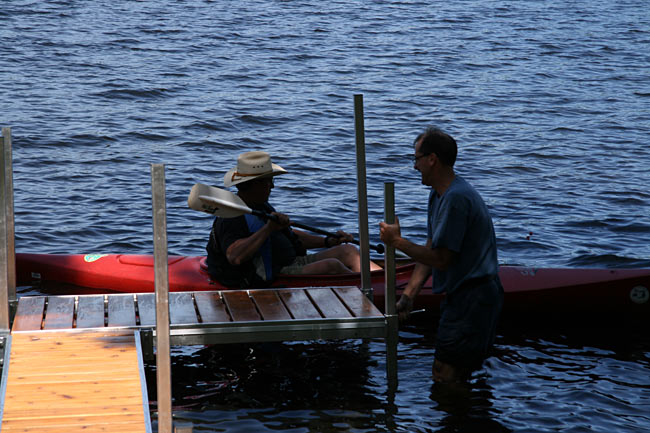
Ready to attach the gang plank which connects the rest of the dock with the shore. This section is build somewhat lighter than the other two pieces. Probably weights about 65lbs with decking.
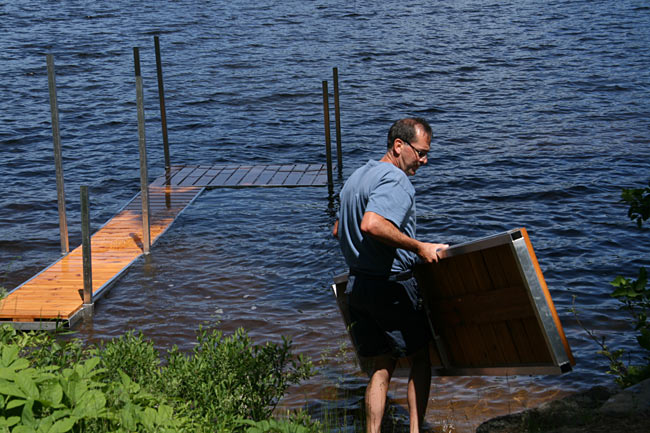
Getting ready to attach the gang plank. I'll adjust the position of the main dock so that once bolted to the gang plank, the plank rests securely on the shoreline (a rock or log usually).
Only 6 bolts were needed to assemble the dock and deck section together! Now on to raising the dock above the waterline and levelling it. Note: Deck sections are connected loosely until the dock is completedly raised and levelled.
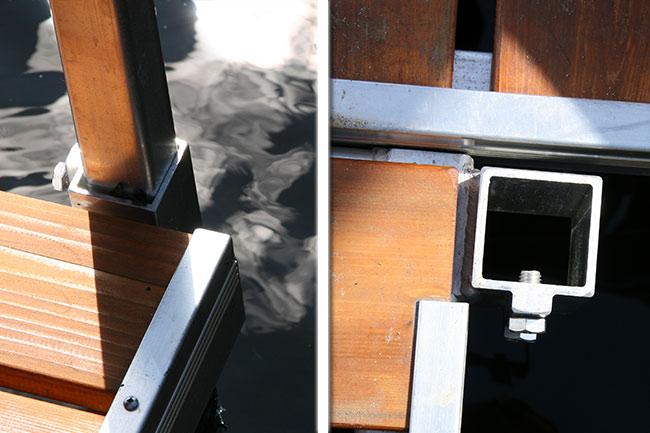
Here is a close up of the sleeve and bolts for each leg. The bolts apply pressure to the legs to prevent them from moving. There are no adjustment holes in the legs.
Going around and levelling at each leg, untightening the 2 pressure bolts, levelling, then retightening. This is the most time consuming part!
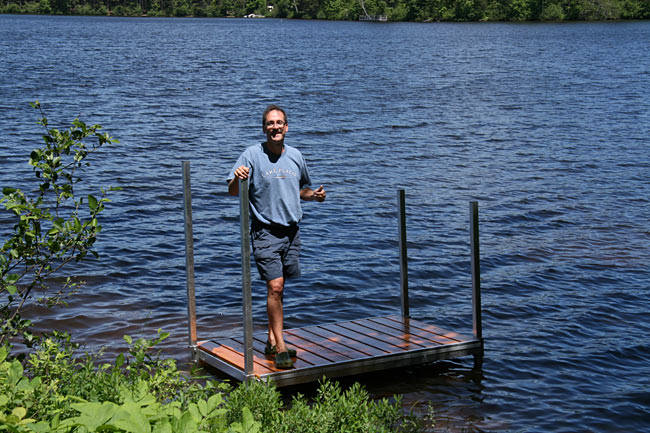
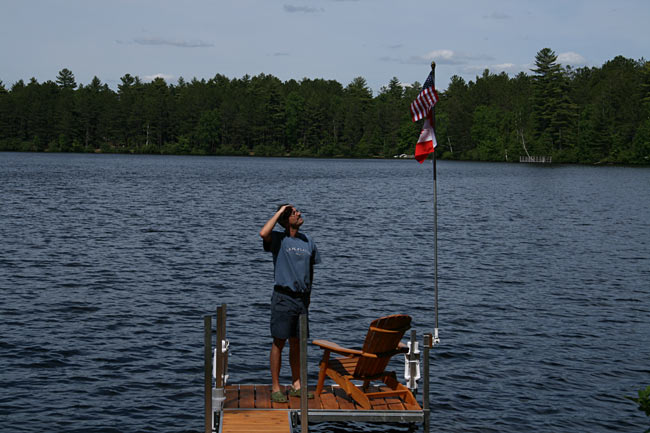
All done! Time to salute the flags!
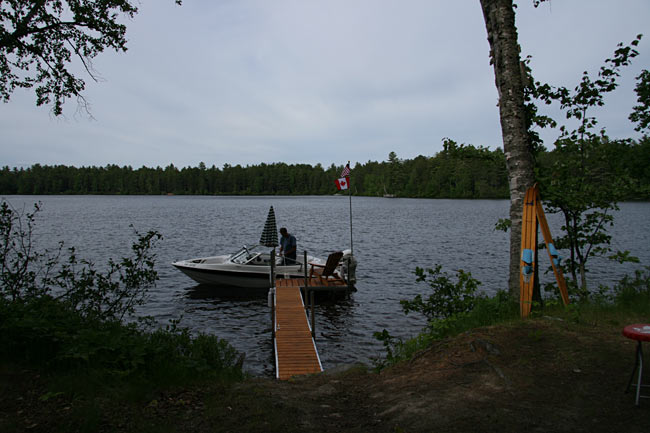
After putting the boat in the water, I make adjustments to fenders and install dock bumpers to complete the job...
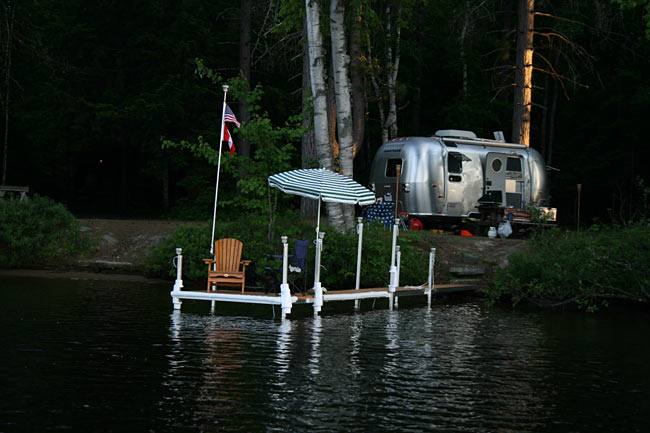
She's all done! Total dock and deck weight is approx 340 lbs including the legs. The setup is not only extremely stable, it doesn't move an inch even with 4 or 5 people on it. Boat tugging due to waves and wind have little to no effect on the dock either.
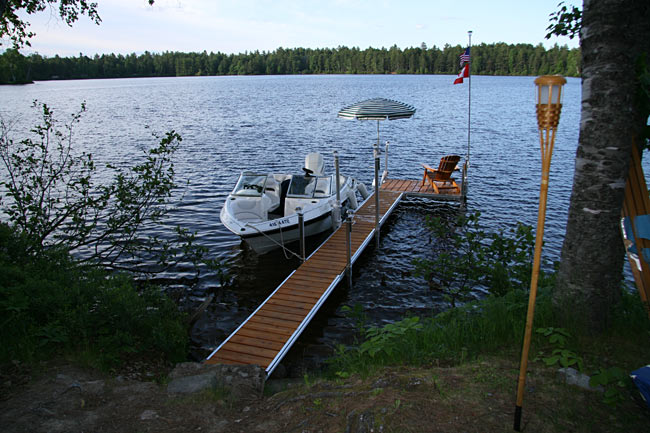
Dock is complete and the wife is a happy deck camper!
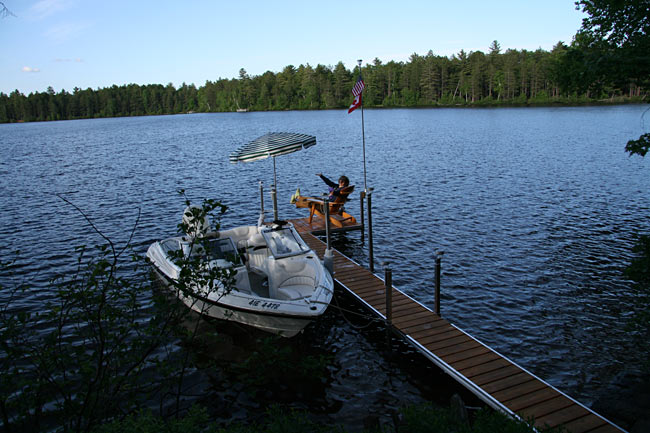
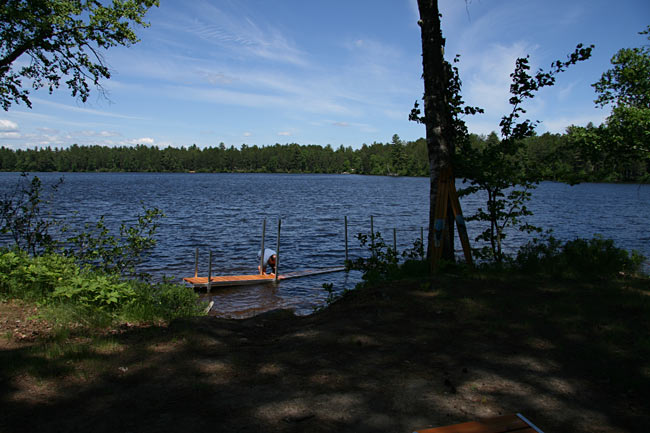
View of our final setup from the pond...
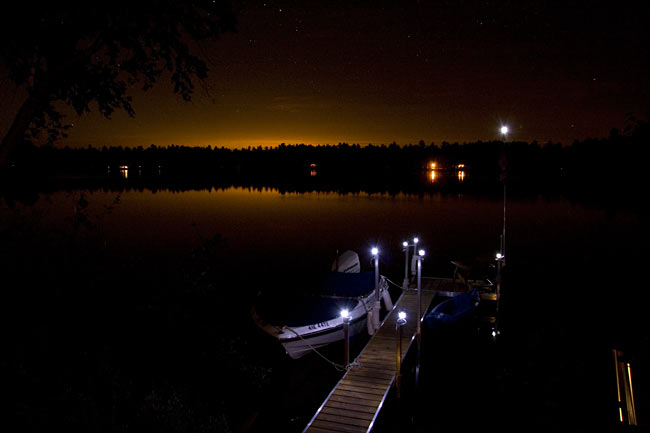
Night time arrives and we enjoy a great sunset with lit up dock and flag pole...
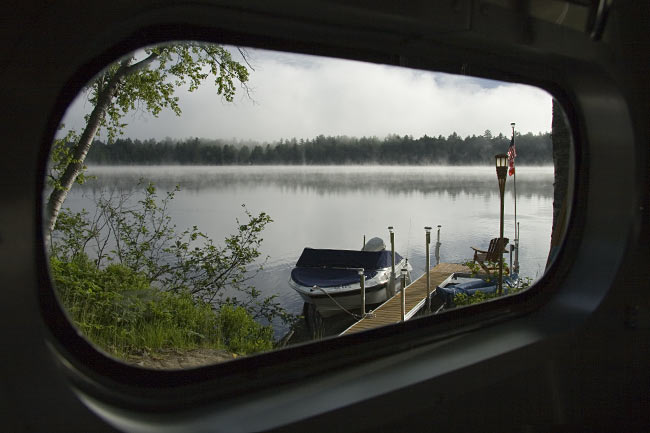
Morning view from our Airstream...
Only one hitch now... storage of the dock!!! It partially fits in the boat if disassembled completely... but we decided to store each of the 3 2x8ft sections in the camper instead this time, and the 4x6ft deck in the SUV... what a job!! Site packup with dock, boat and camper was about 4.5 hours. We'll have to come up with a better plan.
Next Task?? Dock Rack for the boat trailer!! This will solve the problem and will GREATLY reduce the effort and time required to both assemble and store the dock on each trip.
The dock rack would end up being ready for our next trip on July 3rd.
Last updated: June 02, 2011 12:00:00